Handling errors with try and catch
Last updated on
Even well-written code can encounter errors. A file might be missing, a website might be unavailable, or data might not have the structure you expected.
By default, an error stops your script. But sometimes, you know how your code should respond. TypeScript’s try and catch keywords let you catch an error and decide what to do next.
Setup
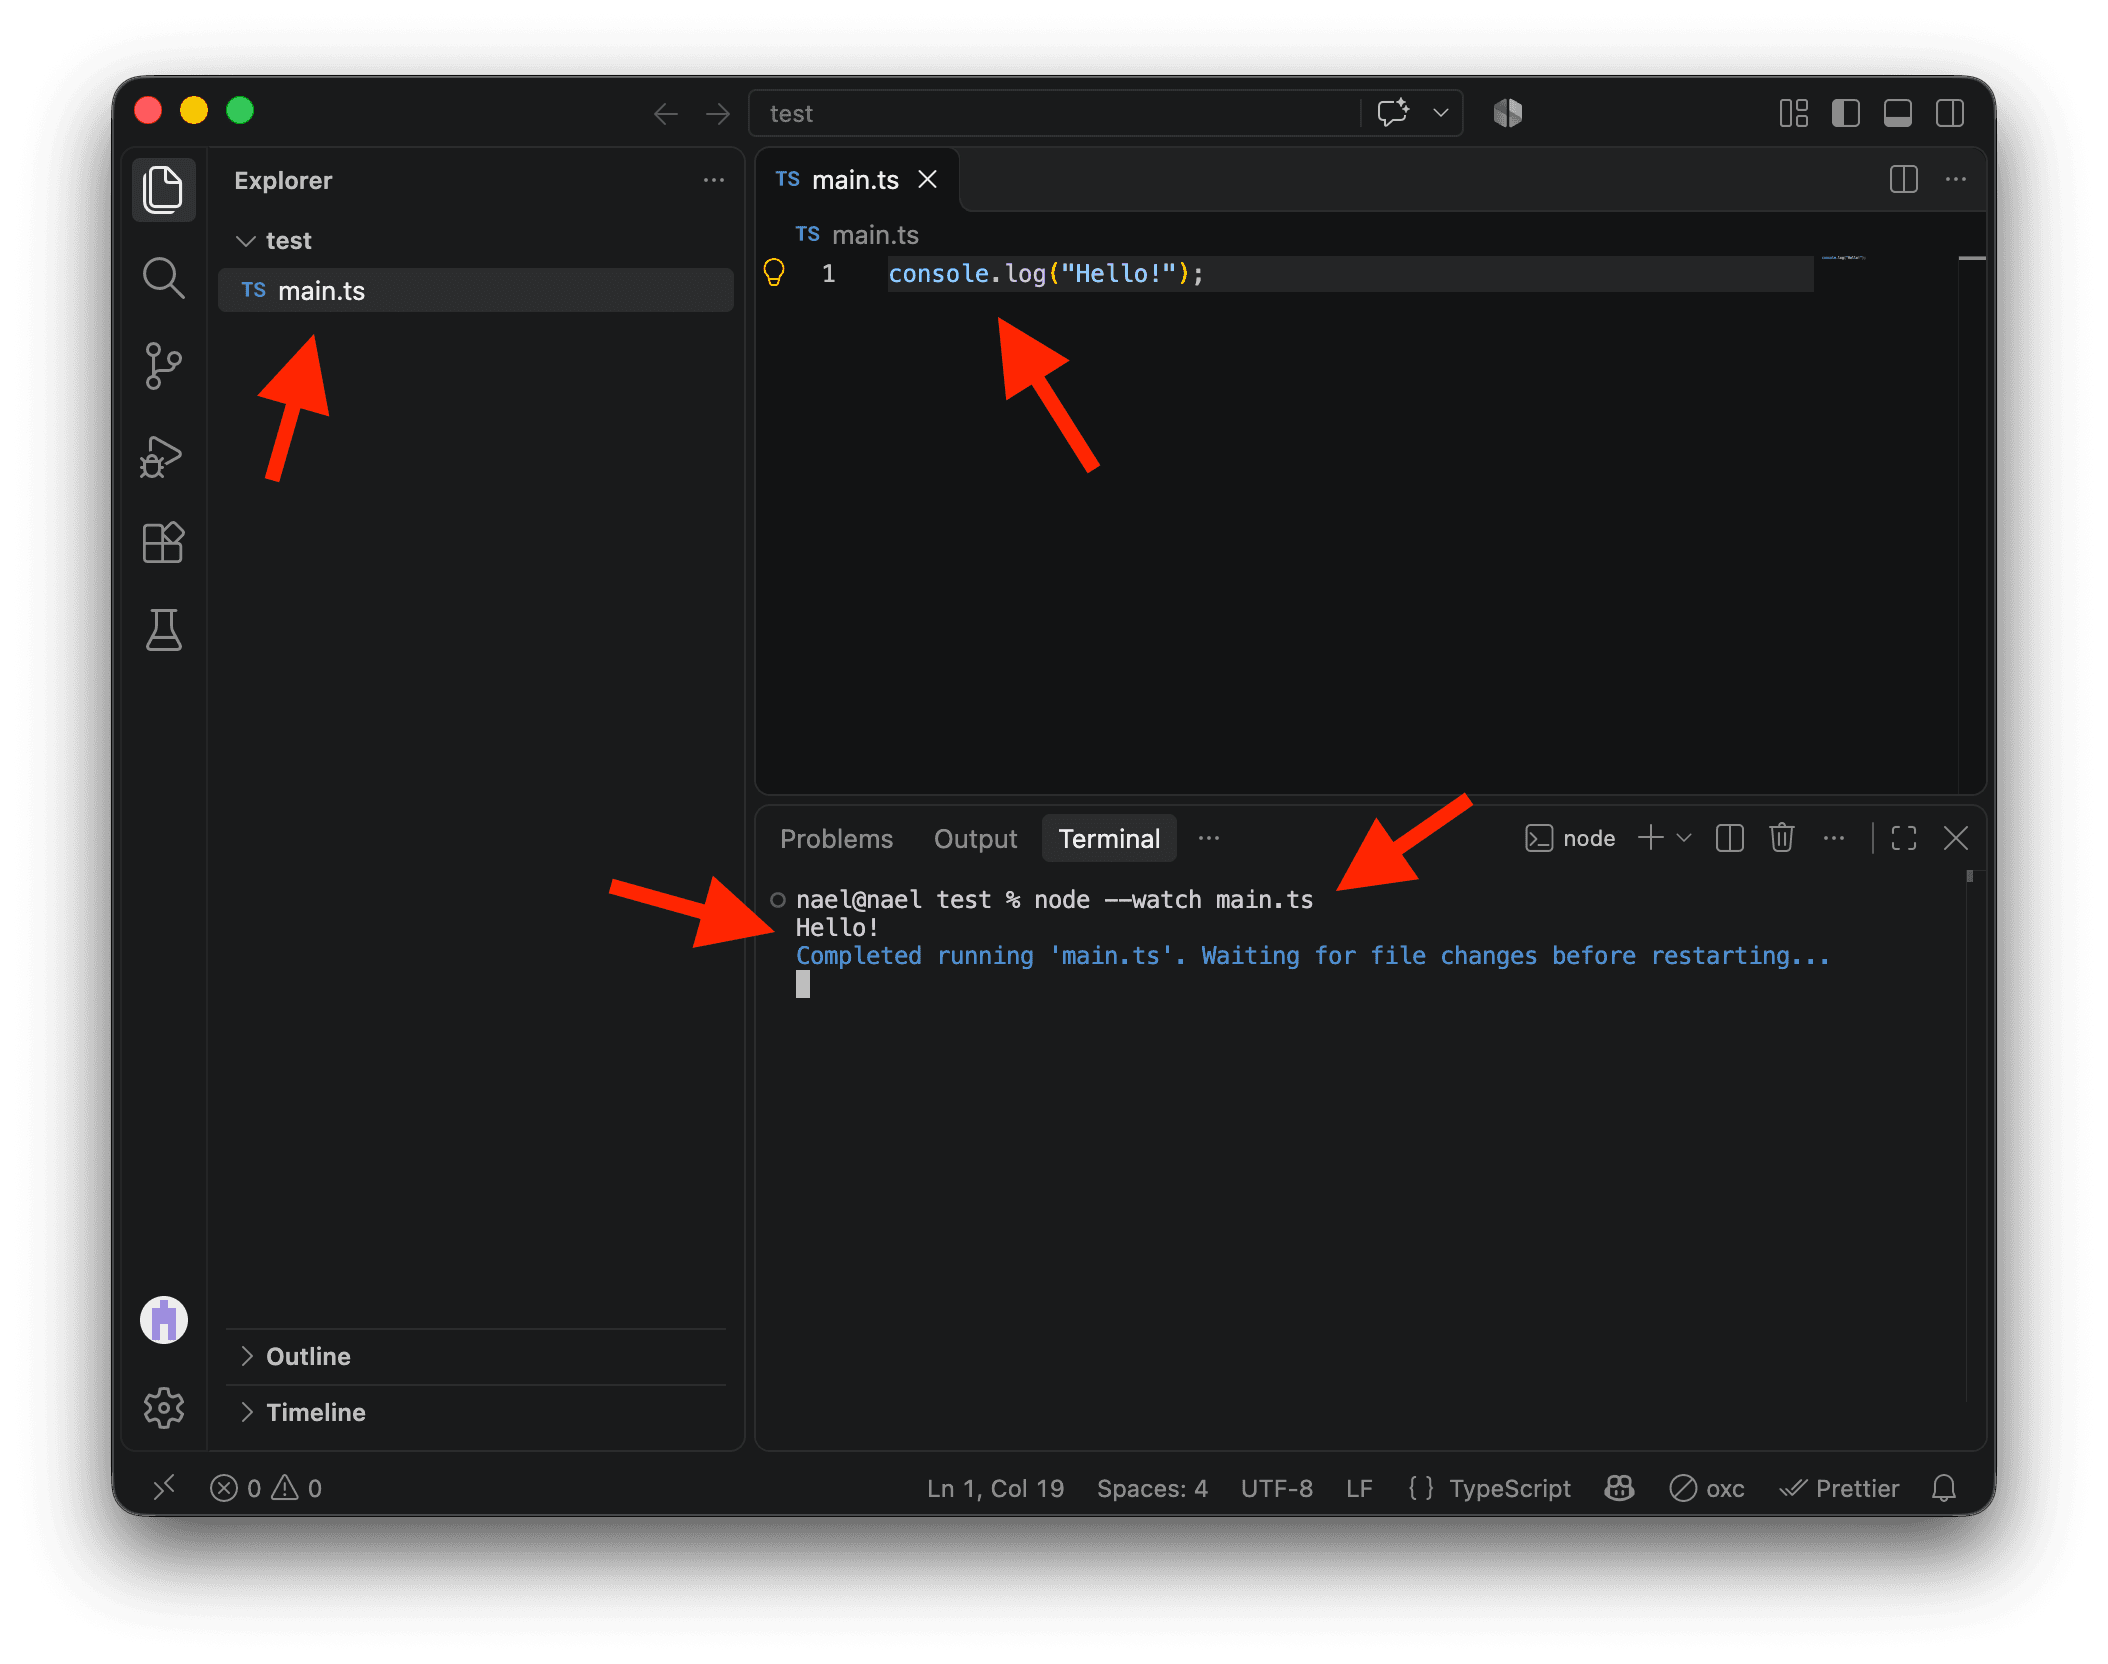
Create a new, empty folder, open it in VS Code, and create a file named main.ts inside it. Add this line and save the file.
console.log("Hello!");Open the VS Code terminal (Command + J on Mac or Control + J on Windows) and run this command.
node --watch main.tsYou should see Hello! in the terminal. Leave the command running so Node reruns main.ts each time you save a change during the lesson.
Catching an error
Let’s write some code that will fail on purpose. The code below tries to read article.txt, a file that doesn’t exist in our project folder.
Put this code in main.ts and save the file. Node will rerun the script automatically, and you’ll see the result in your terminal.
import { readFile } from "node:fs/promises";

await readFile("./article.txt", "utf8");

console.log("End of the script");
Node can’t find article.txt, so it reports an ENOENT error.
The error stops the script at line 3, so the code after that line never runs. That’s why we don’t see End of the script in the terminal.
Sometimes we want the rest of the script to keep running even if one or more operations fail. For that, we need to catch the error and decide how to handle it.
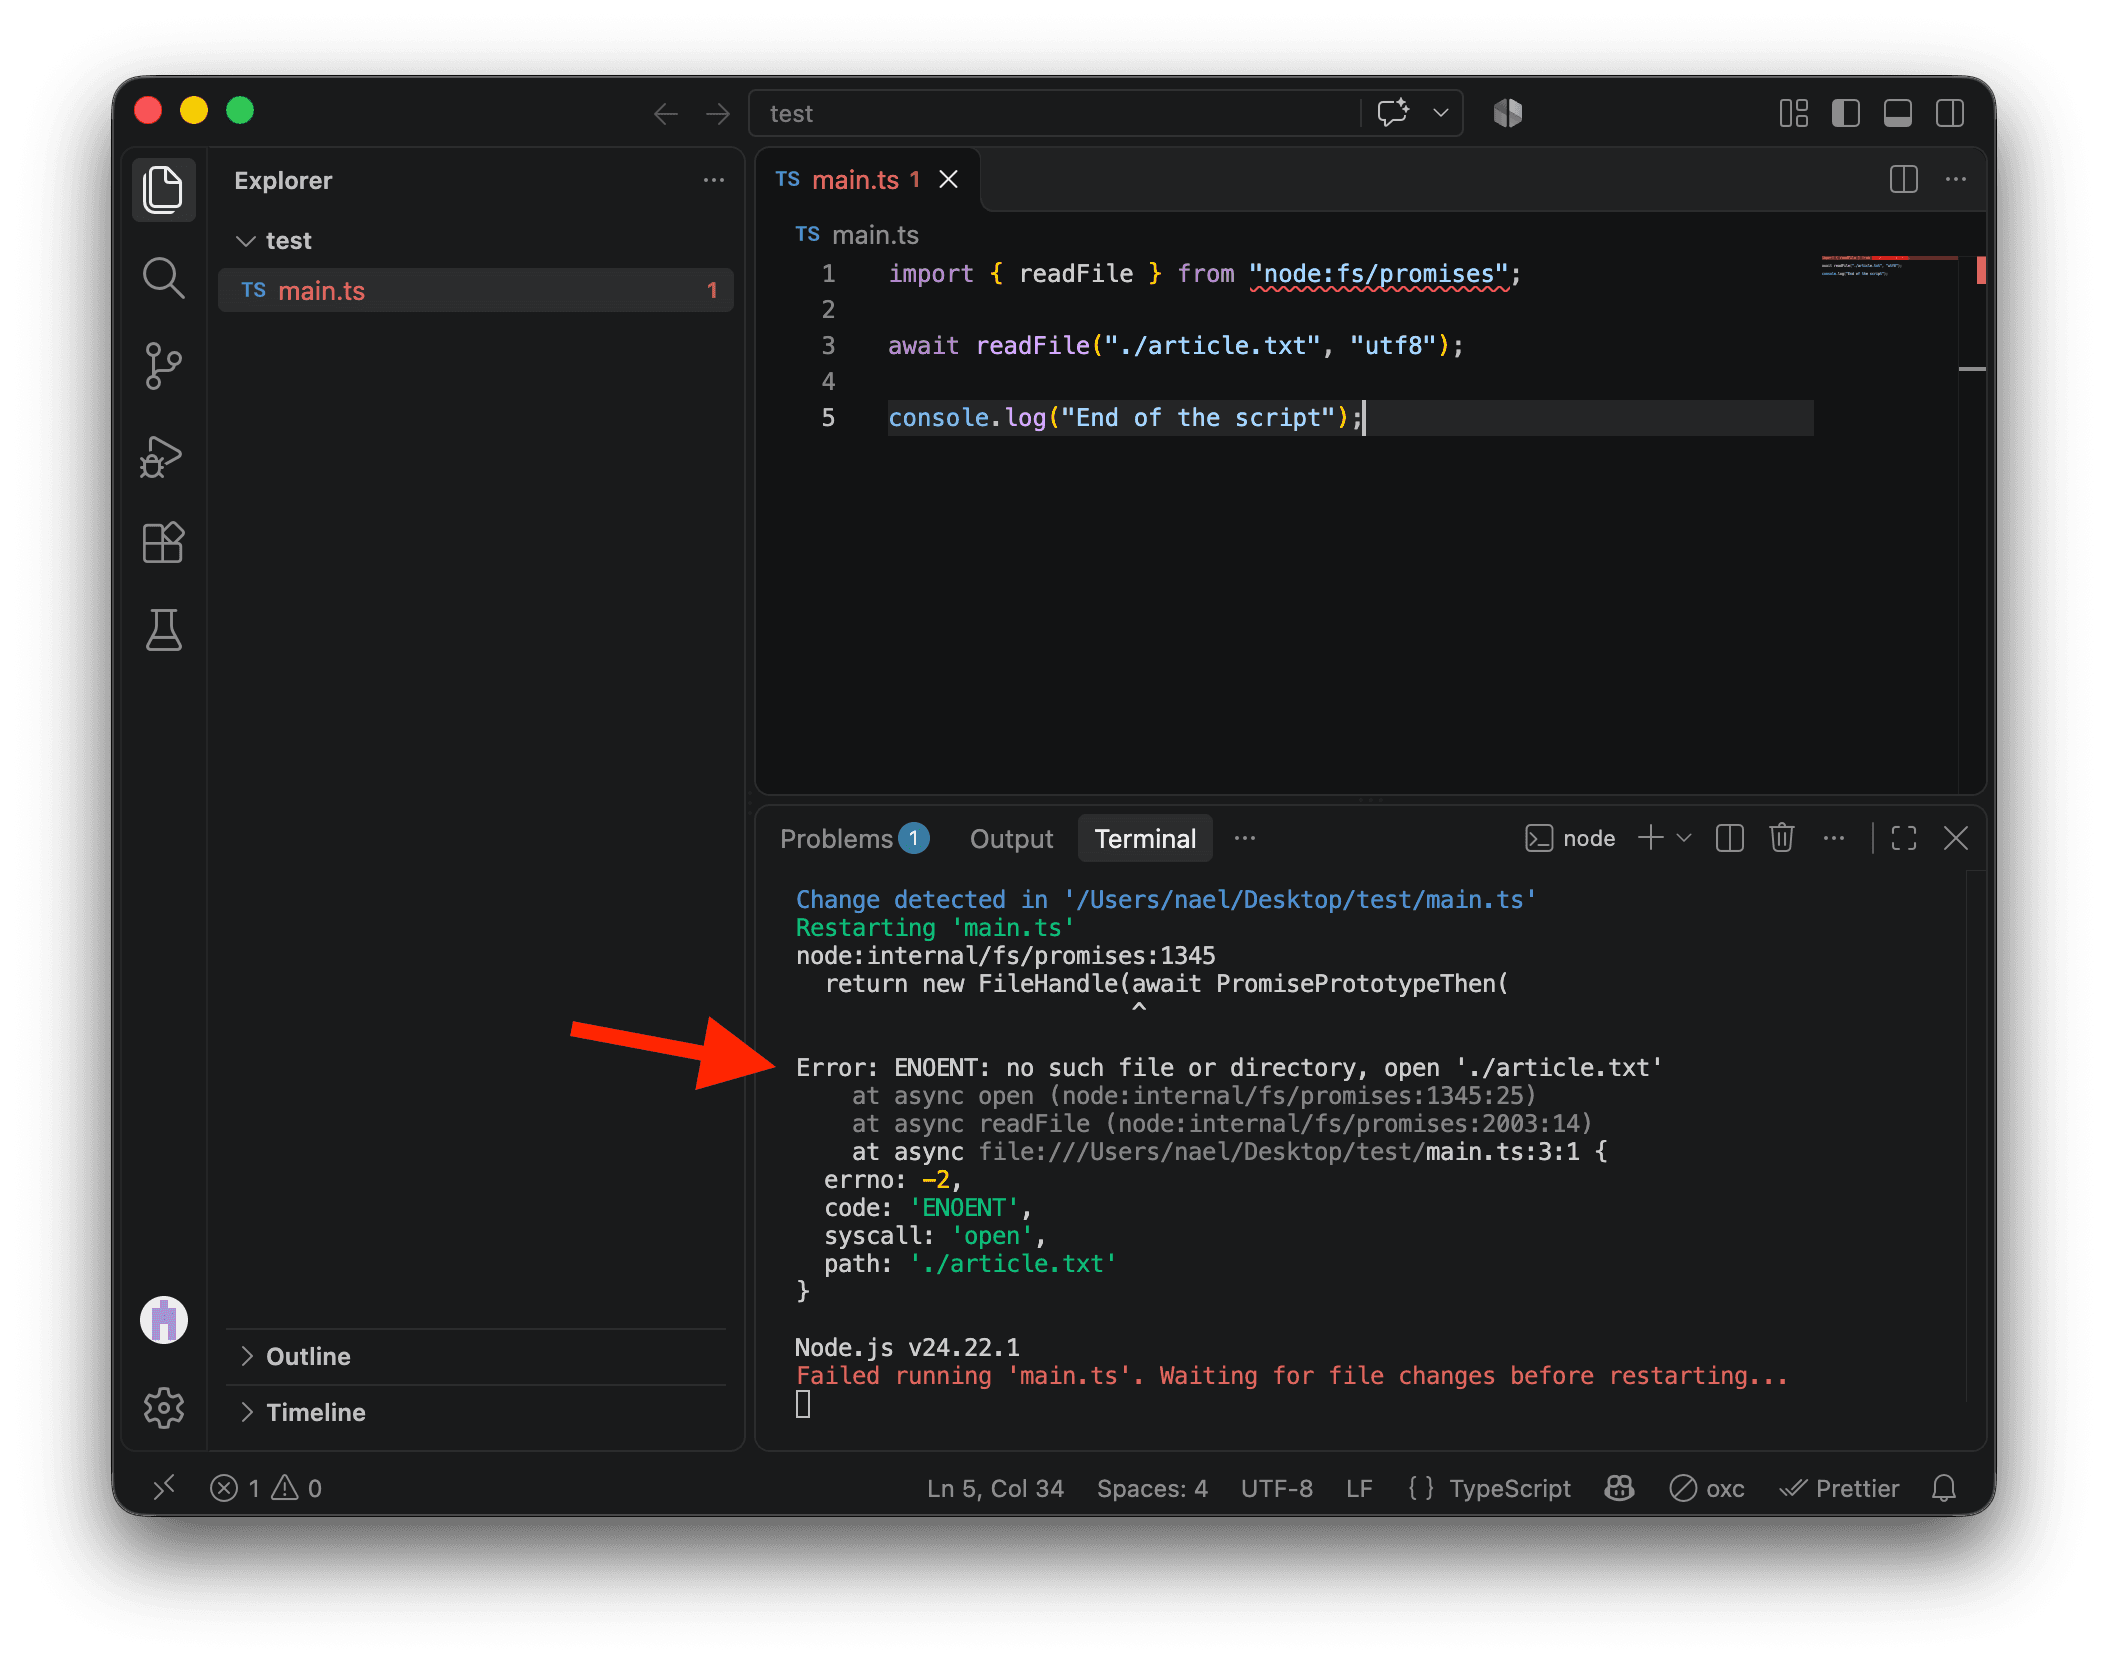
You may have noticed the type error on line 1 in VS Code. You can ignore it for this lesson. node:fs/promises is built into Node, and Node will still run the code.
To catch errors, we can use try and catch.
tryis followed by curly braces. Node tries to run the code between them first.catchruns if an error occurs insidetry. Inside the curly braces aftercatch (error), you can inspect the error. It may include a code or message that helps you decide how to handle it.
If try succeeds, Node skips catch. If try fails, Node runs catch. In both cases, Node continues with the rest of the script unless an error in catch goes unhandled.
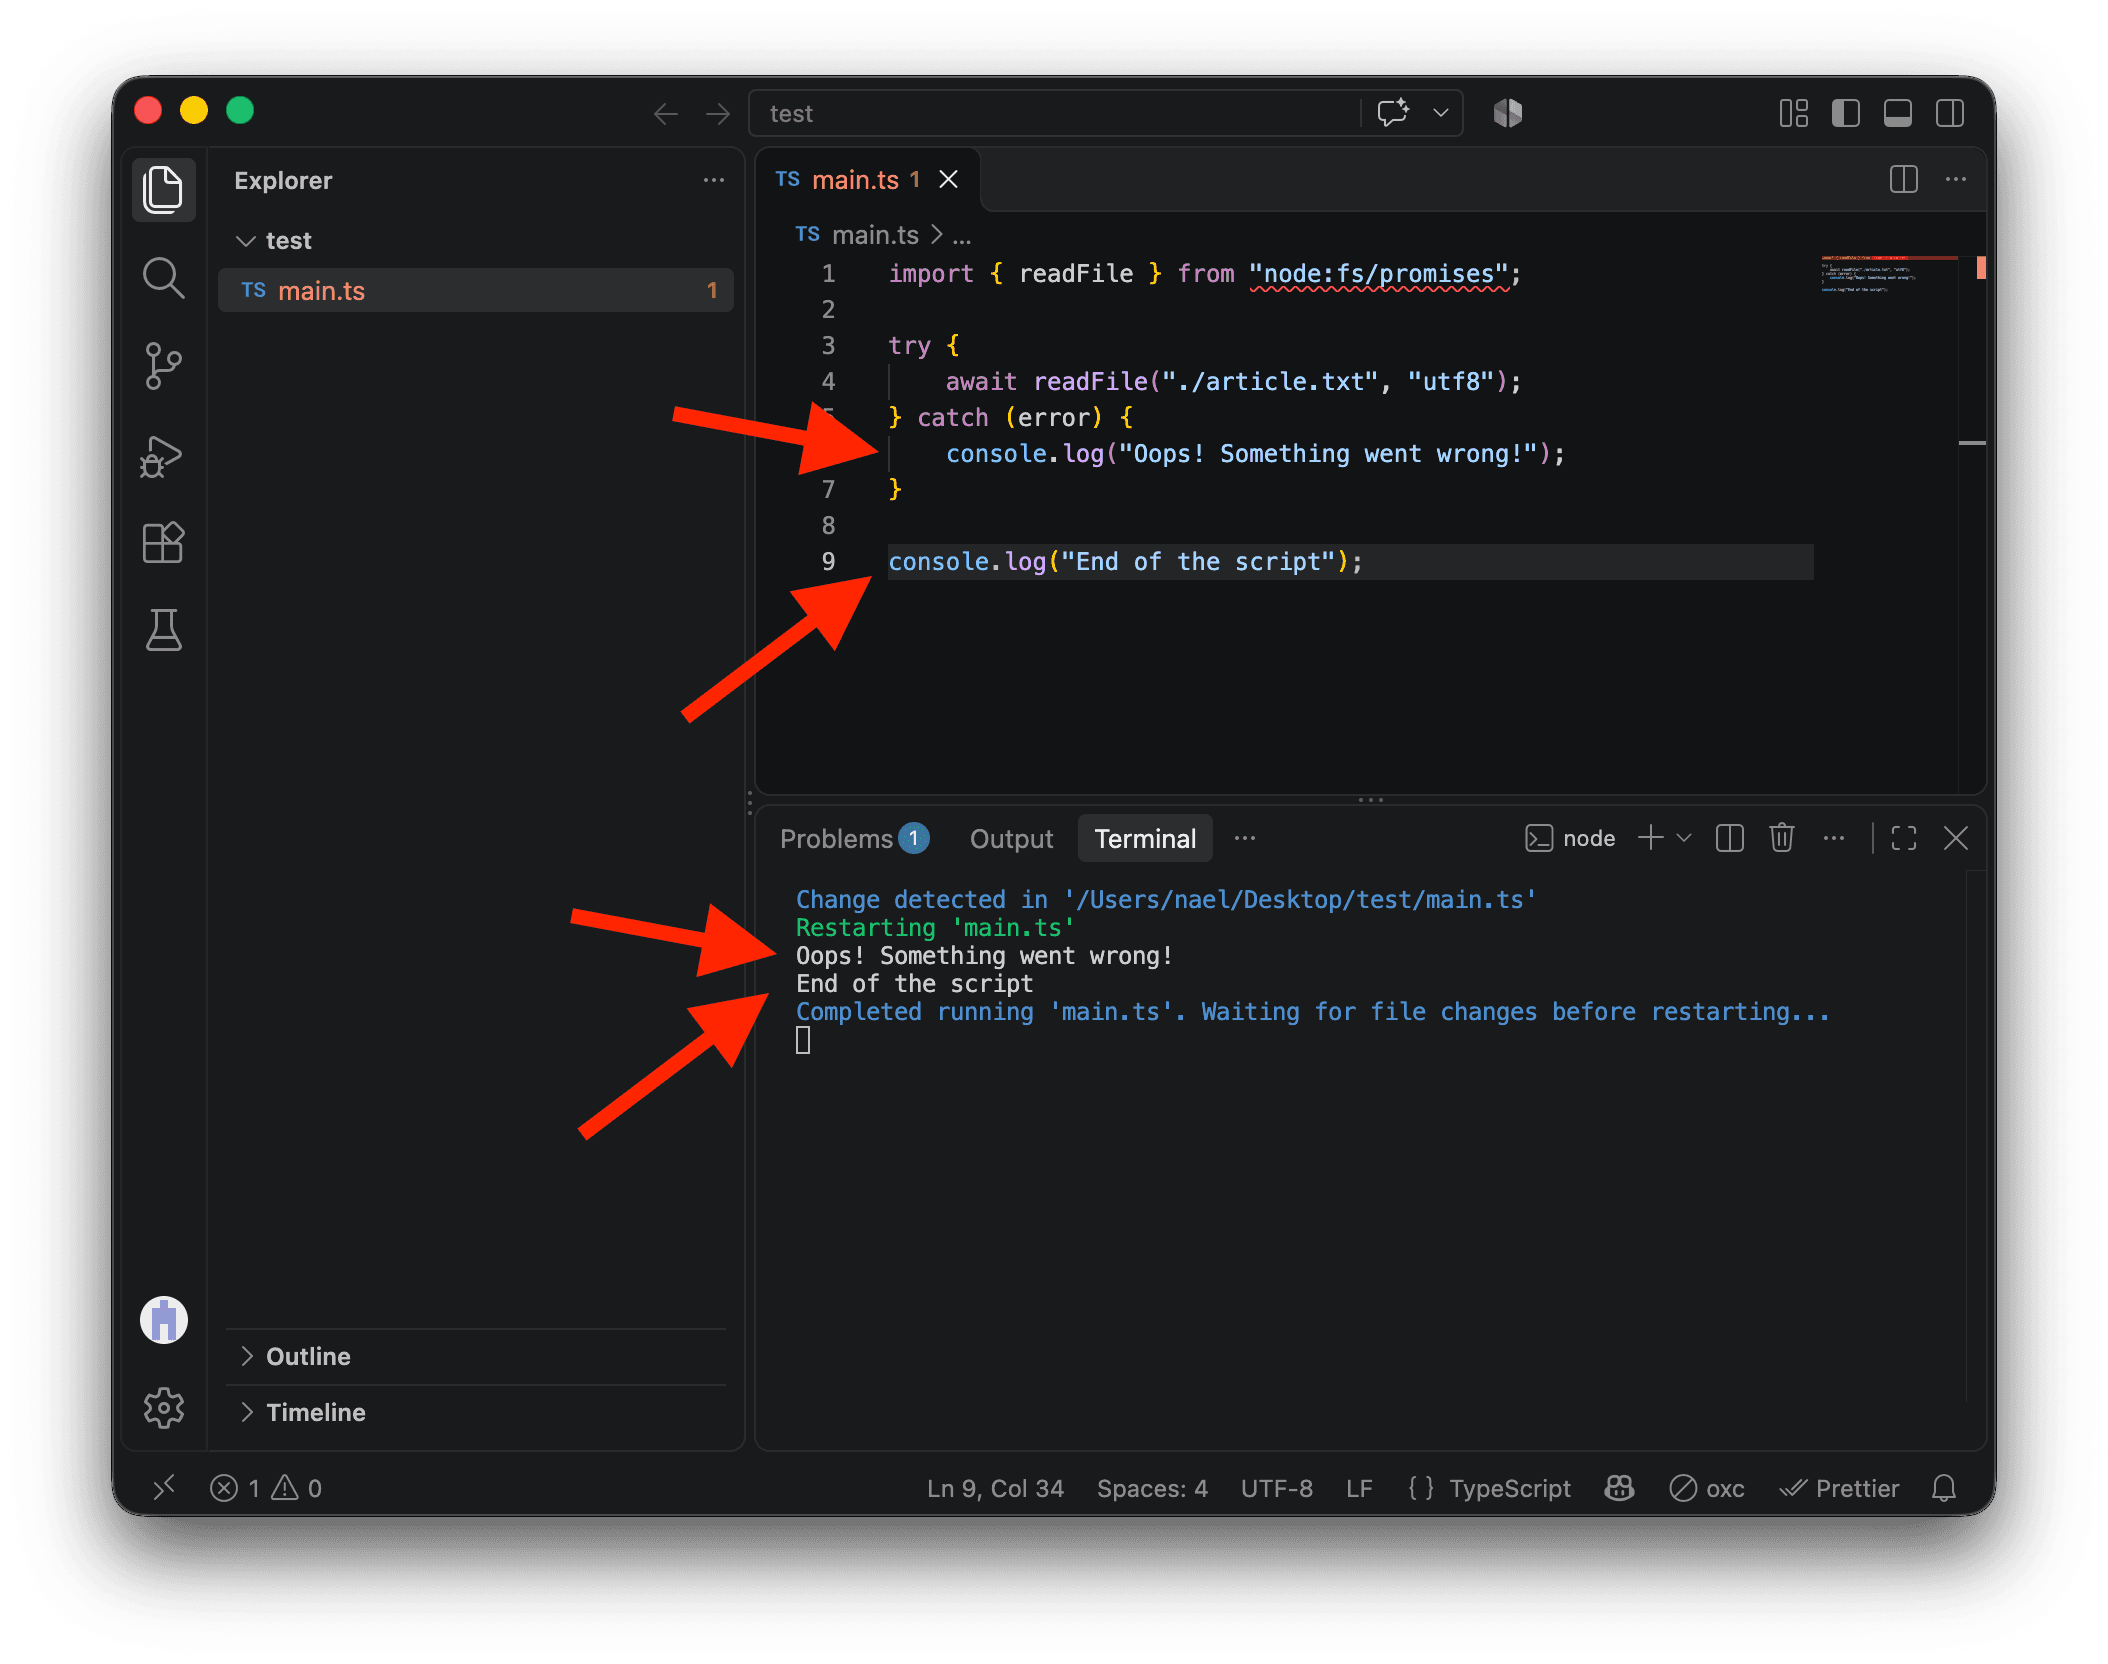
Put this code in main.ts and save it. This time, the terminal shows Oops! Something went wrong! followed by End of the script.
import { readFile } from "node:fs/promises";

try {
    await readFile("./article.txt", "utf8");
} catch (error) {
    console.log("Oops! Something went wrong!");
}

console.log("End of the script");
The file read fails on line 4, so catch runs and prints the message on line 6. The terminal also shows End of the script, which tells us line 9 ran. With this code, we still don’t know what the error was.
The Oops! message tells us something went wrong. Often, you’ll want to log the error itself to understand what happened. Add console.log(error) right after the message and save main.ts again.
import { readFile } from "node:fs/promises";

try {
    await readFile("./article.txt", "utf8");
} catch (error) {
    console.log("Oops! Something went wrong!");
    console.log(error);
}

console.log("End of the script");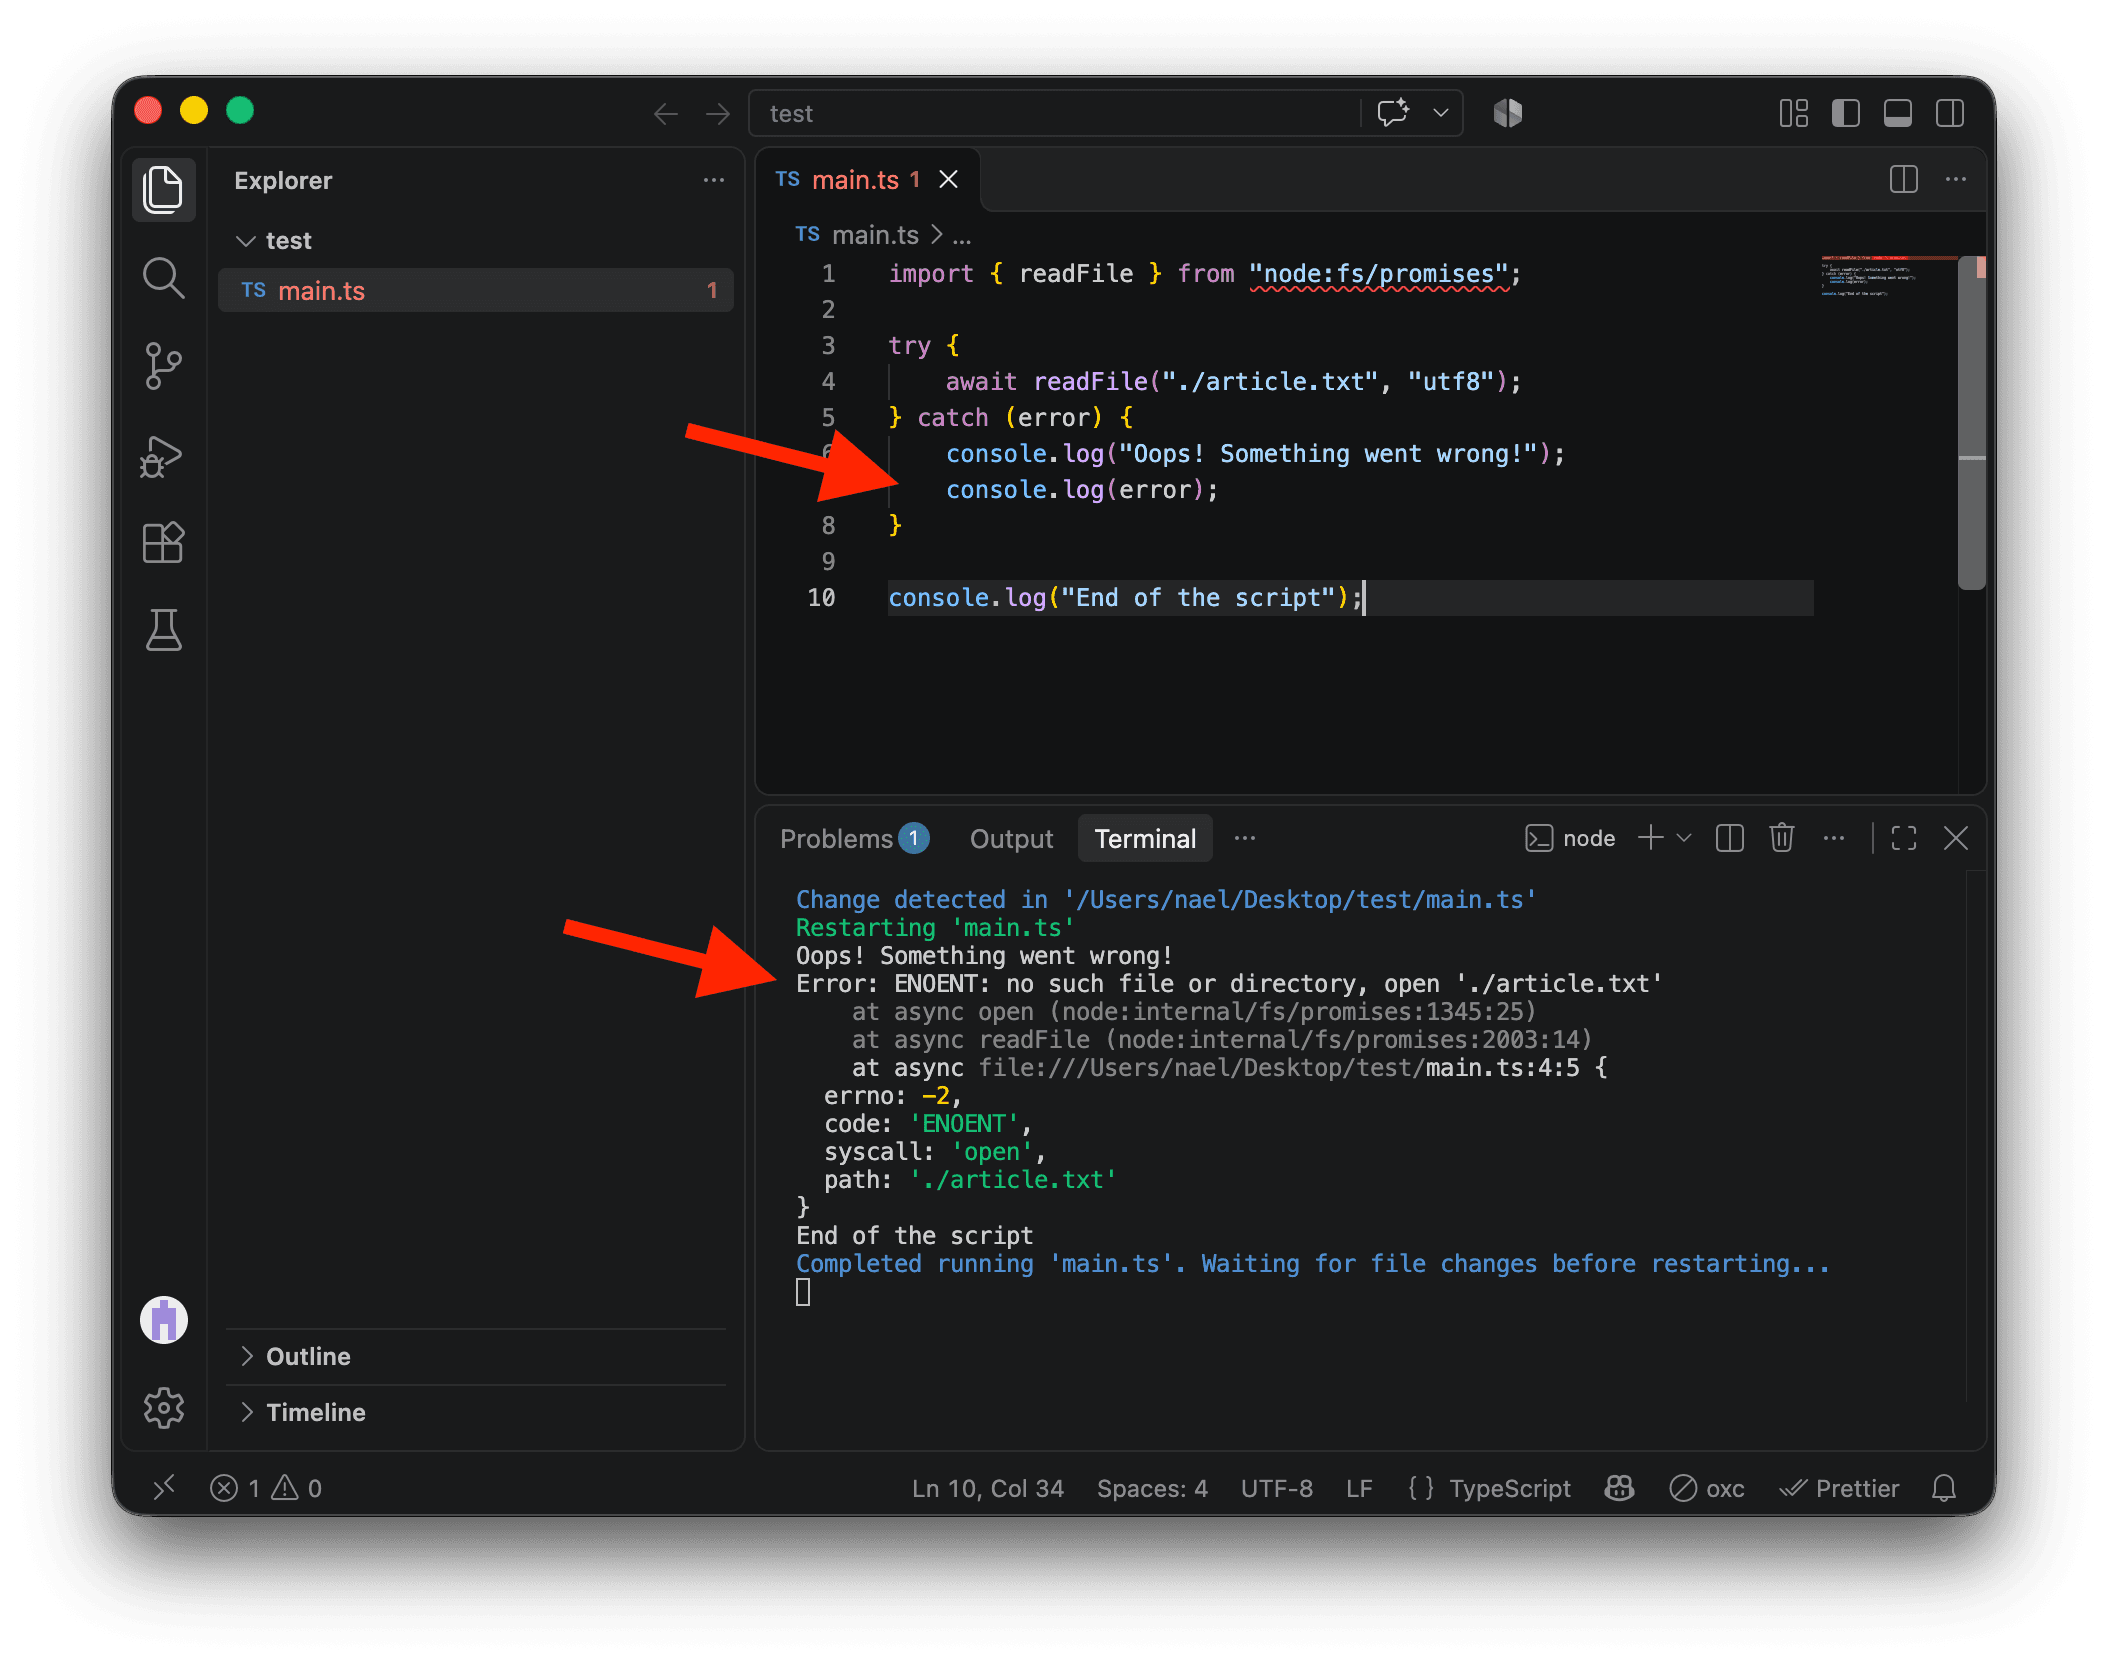
Using finally
Sometimes you need to do something whether try succeeds or catch handles an error. For that, you can use finally. The code between the curly braces after finally runs in either case.
For example, if you open a database connection before try, you can close it in finally whether the query succeeds or fails.
Add the highlighted lines to main.ts and save. The terminal will show I tried! just before End of the script.
import { readFile } from "node:fs/promises";

try {
    await readFile("./article.txt", "utf8");
} catch (error) {
    console.log("Oops! Something went wrong!");
    console.log(error);
} finally {
    console.log("I tried!");
}

console.log("End of the script");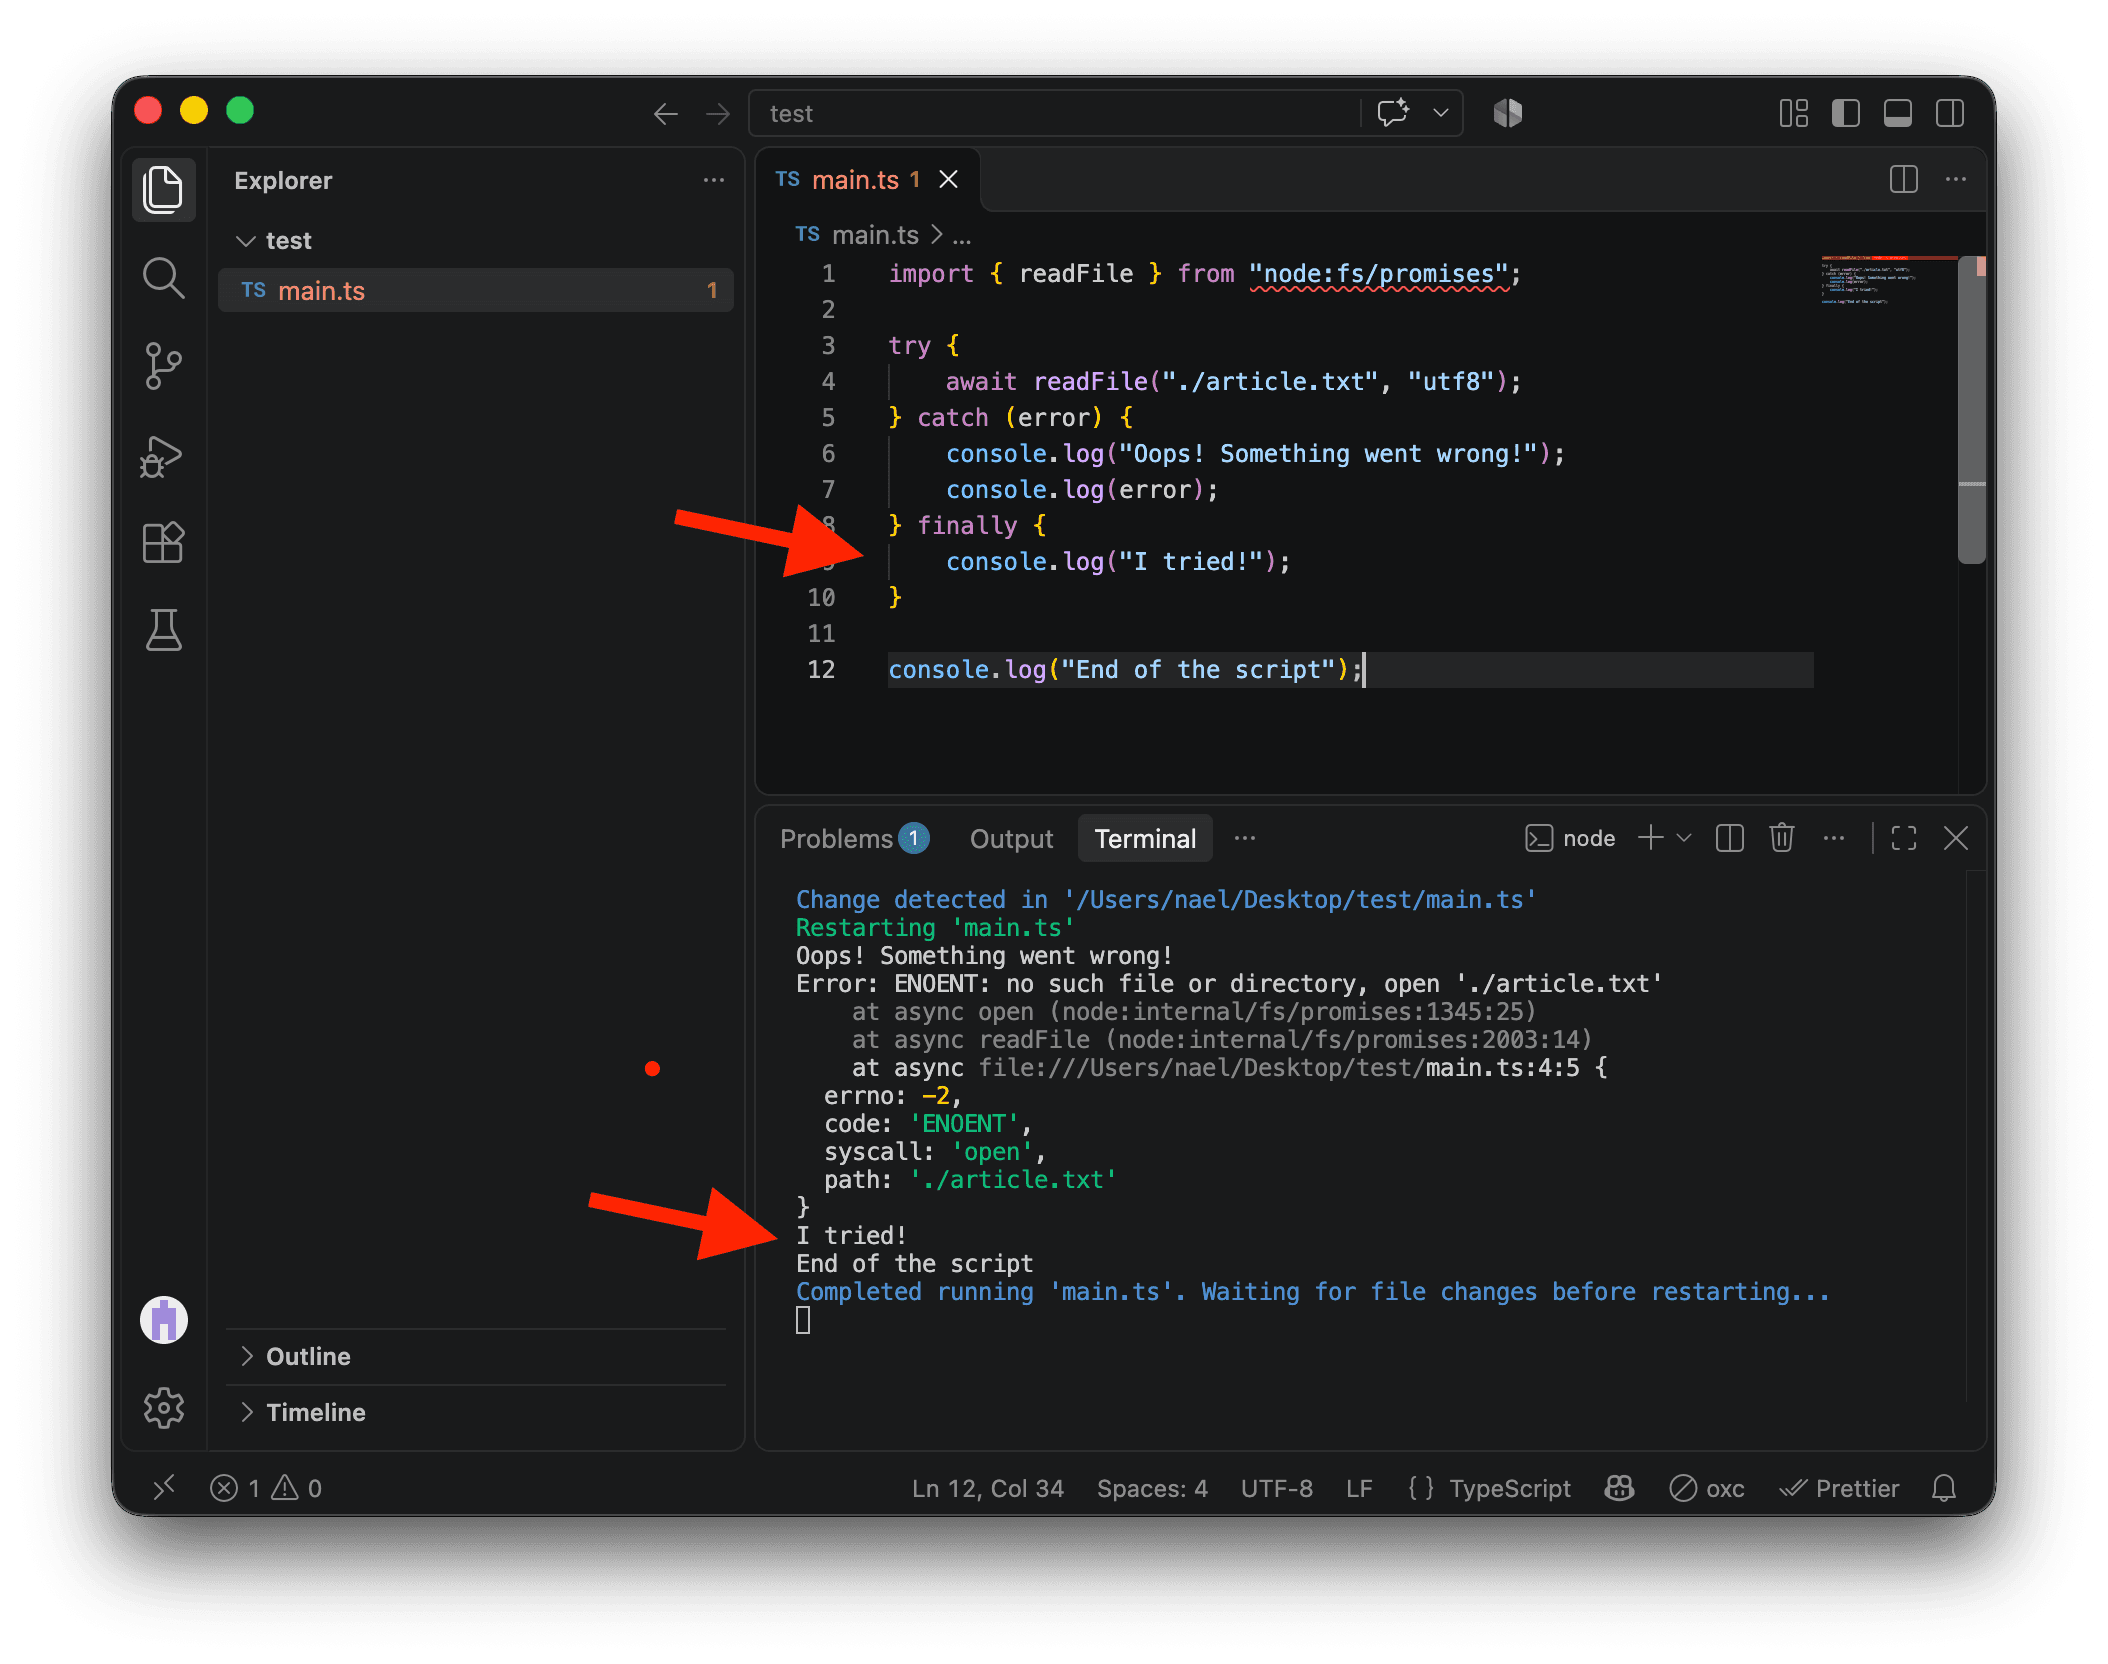
With article.txt missing, Node runs catch and then finally. If you create article.txt in the project folder and save main.ts again, Node skips catch and still prints I tried!.
Conclusion
Congrats! You now know how to handle errors in TypeScript. 💃
Handling errors makes your scripts more robust. When a problem you’ve planned for comes up, your code can respond and keep going.
However, it can be tempting to wrap your whole script in try and catch. That can hide bugs. Catch the errors you know how to handle. Let unexpected errors stop the script so you can see what went wrong and fix it.